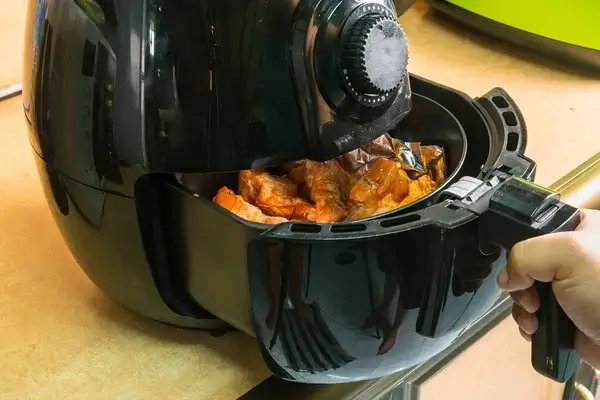
Air fryers have become a kitchen essential for many, providing a healthier alternative to deep frying while still delivering crispy and delicious meals. However, just like any kitchen appliance, your air fryer needs proper maintenance and cleaning to ensure it continues to work efficiently and lasts for years. If you’re wondering how to clean an air fryer properly, this step-by-step guide will help you keep your appliance in top shape!
Why Cleaning Your Air Fryer Is Important
Your air fryer has to be cleaned regularly for a number of reasons:
- Preventing build-up: Crumbs, grease, and food residue can accumulate over time, which may affect the air fryer’s performance.
- Enhancing taste: Old grease or food particles left behind can alter the flavor of your meals.
- Extending appliance life: Regular cleaning can help extend the life of your air fryer by preventing internal damage.
- Ensuring safety: Residue buildup, especially grease, can cause unpleasant odors and even become a fire hazard if left unchecked.
How Often Should You Clean Your Air Fryer?
It’s a good idea to clean your air fryer after every use to prevent food build-up. However, a deeper clean should be done weekly or after cooking particularly greasy foods like fried chicken or bacon. Regular cleaning ensures your air fryer remains in excellent condition.
Step-by-Step Guide to Clean an Air Fryer
Here’s a detailed guide on how to clean your air fryer effectively and safely:
- Unplug and Cool Down
Make sure to unplug the air fryer and allow it to cool fully before beginning any cleaning. This will protect you from burns and also prevent any accidental electrical issues.
- Remove the Basket and Pan
The majority of air fryers feature a drip pan and detachable basket. Start by carefully removing these parts. These components will usually need the most attention, as they’re in direct contact with food.
- Wash the Basket and Pan
Use warm, soapy water to clean the drip pan and basket. Use a non-abrasive sponge to scrub away any food particles or grease. If the residue is difficult to get rid of, you can soak the parts in warm, soapy water for ten to fifteen minutes to get the dirt off. For stuck-on grease or stubborn stains, a mixture of baking soda and water can help. Simply apply the paste, allow it to settle, and then use a gentle sponge to scrub.
- Clean the Air Fryer Interior
Once the basket and pan are removed, use a soft cloth or sponge to wipe the interior of the air fryer. Avoid using harsh or abrasive cleaners that could damage the non-stick coating. For stuck-on food, you can use a damp cloth or a soft brush to gently scrub the walls and heating element. If necessary, you can use a small amount of dish soap diluted with water, but make sure to wipe away any excess moisture afterward.
- Clean the Heating Element
The heating element is another area that requires cleaning to avoid grease buildup. To clean it, take a damp cloth or sponge (preferably one with a soft texture) and gently wipe the element. Be sure to dry it completely before reassembling the air fryer. The heating element can be damaged if harsh chemicals or abrasive materials are used on it.
- Wipe the Exterior
Don’t forget to clean your air fryers outside! Wipe off the appliance’s outside using a moist cloth. Be sure to clean the control panel and any buttons carefully, using a microfiber cloth to avoid damaging the controls. After cleaning, always make sure the outside is completely dry.
- Reassemble and Check for Dryness
Once all parts are cleaned and fully dry, reassemble the air fryer. Double-check that everything is completely dry, especially the basket and pan, before placing them back inside the unit. Excess moisture left inside the appliance can cause damage over time.
Additional Tips for Cleaning Your Air Fryer
- Avoid soaking the entire air fryer: Only the basket and pan should be soaked in water. The main body of the air fryer should never be submerged in water, as it can damage the internal components.
- Use baking soda: If you notice any unpleasant odors, sprinkle some baking soda inside the basket or the pan. After letting it sit for a time, wash it normally.
- Use non-abrasive cleaning tools: Always opt for soft sponges or brushes to prevent scratching the non-stick surfaces of your air fryer.
- Check the manual: Different air fryer models may have specific cleaning instructions. Always refer to the manufacturer’s guide for recommendations on cleaning and maintenance.
How to Deep Clean Your Air Fryer (Occasional Deep Clean)
Over time, your air fryer may need a deeper clean to maintain its performance. If you notice persistent grease stains or a buildup of food that regular cleaning doesn’t remove, try these extra steps:
- Soak the removable parts: Soak the basket and drip tray in a mixture of warm water and vinegar to break down grease. This will help remove any stuck food particles and oil.
- Use a soft brush for hard-to-reach areas: A toothbrush or small soft-bristled brush is ideal for cleaning tight spaces like around the heating element or the edges of the basket.
- Clean the air intake and exhaust: Use a soft brush or compressed air to clear dust or grease buildup in the air intake and exhaust areas. This helps maintain proper airflow for optimal cooking performance.
Conclusion
It doesn’t have to take a lot of time to clean your air fryer. With a few simple steps, you can keep your appliance in great condition, ensuring it works efficiently and lasts for years. Regular cleaning will not only enhance the taste and quality of your food but also keep your air fryer safe and hygienic. By following these cleaning tips and giving your air fryer a deep clean when necessary, you’ll enjoy healthy, crispy meals with minimal hassle.

